How To Activate Spam Filters in cPanel To Reduce Incoming Spam?
To filter out unwanted messages/spam mail, you can activate spam filter in cPanel to reduce annoying incoming spam emails.
Steps to activate spam filter in cPanel:
- Login to your cPanel account.
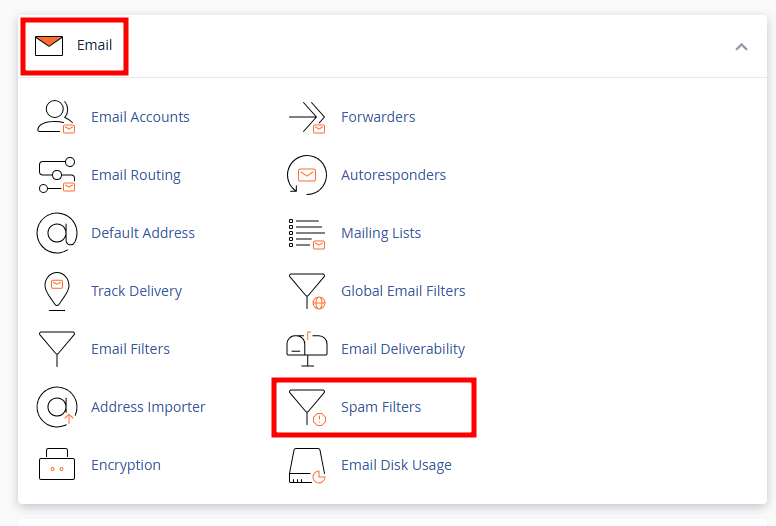
- Under the Email Section, Click on Spam Filters.
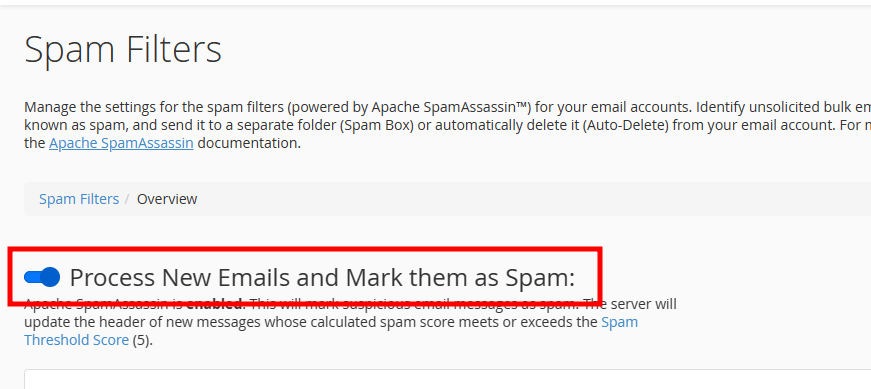
- By default, Spam Filter is disabled, so you need to enable it. Slide to activate Process New Emails and Mark them as Spam option.
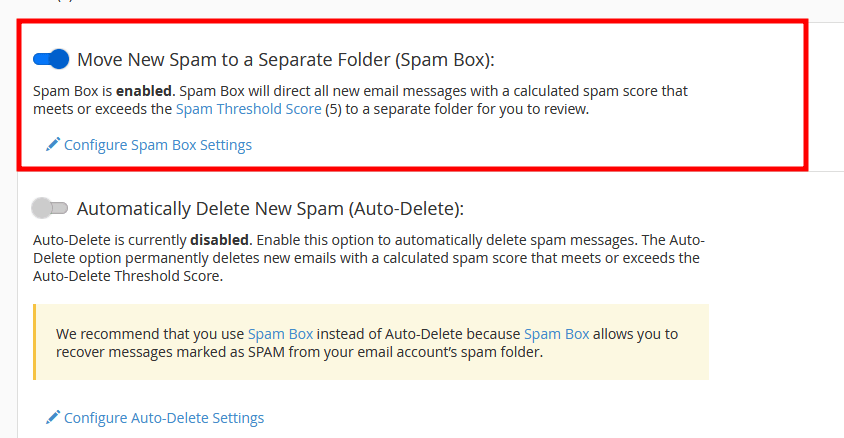
- Enabling Move New Spam to a Separate Folder will move all emails having a score of five or above to a spam folder but will not delete it.
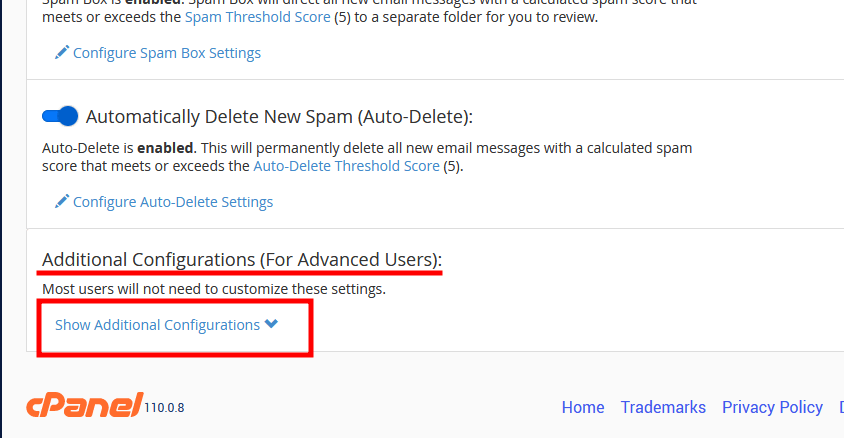
- When you enable, Automatically Delete New Spam, It will automatically delete all the emails Spam Filters mark as spam. i.e., with a Spam score of Five and above, will be deleted. You can set the spam score from the Spam Threshold Score. The default and Recommended Spam score is 5.
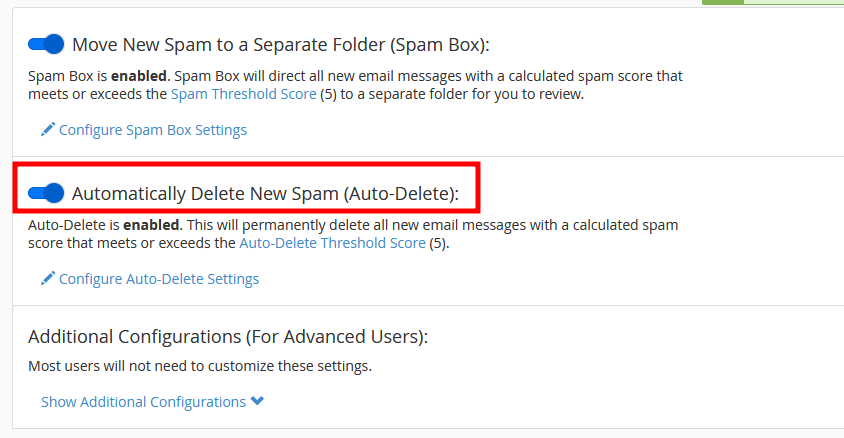
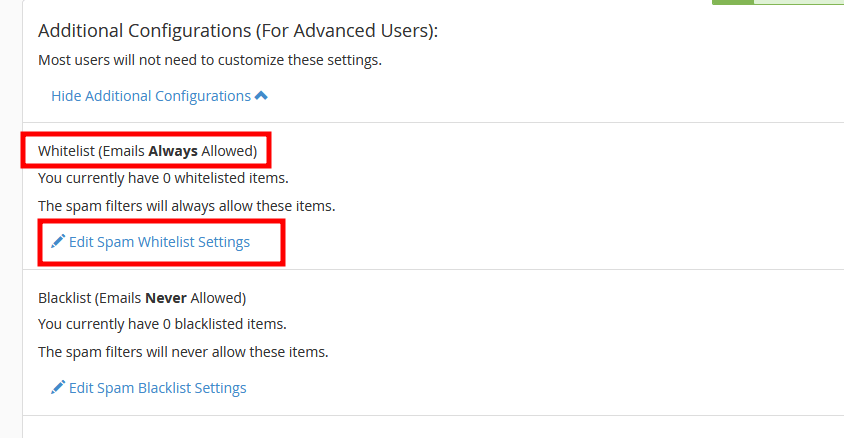
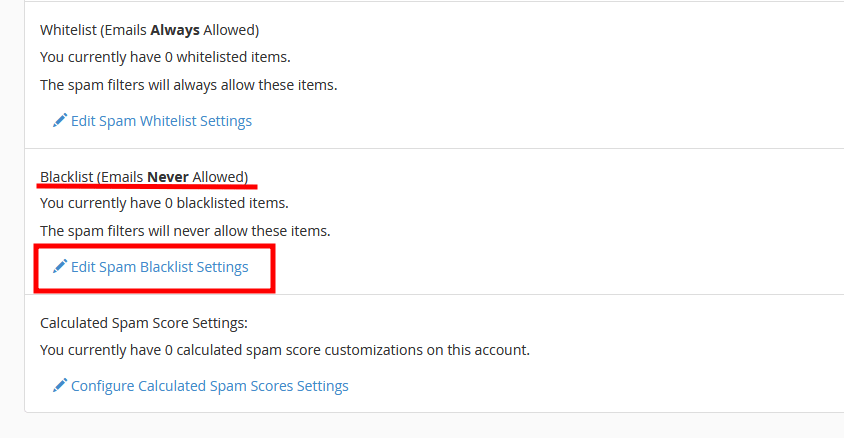
- Click on the show additional configurations option under Additional Configuration to Whitelist/Blacklist single or multiple Email accounts in cPanel Spam Filter.
- Click on Edit Spam Whitelist Setting.
- In the new page, click Add a New whitelist_from item.
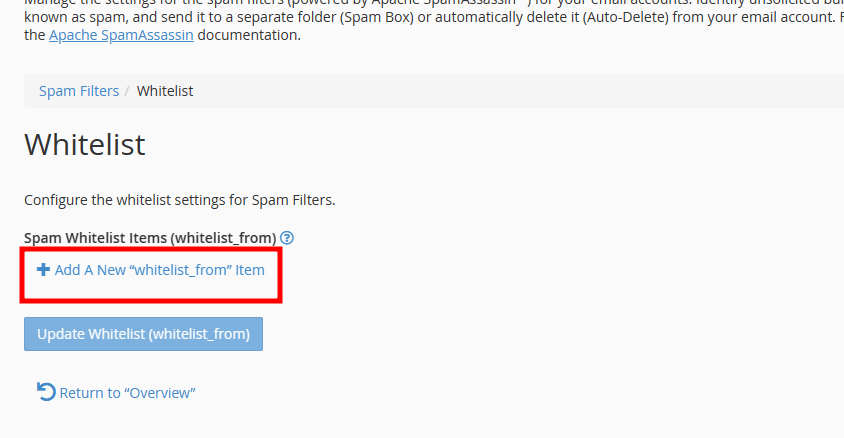
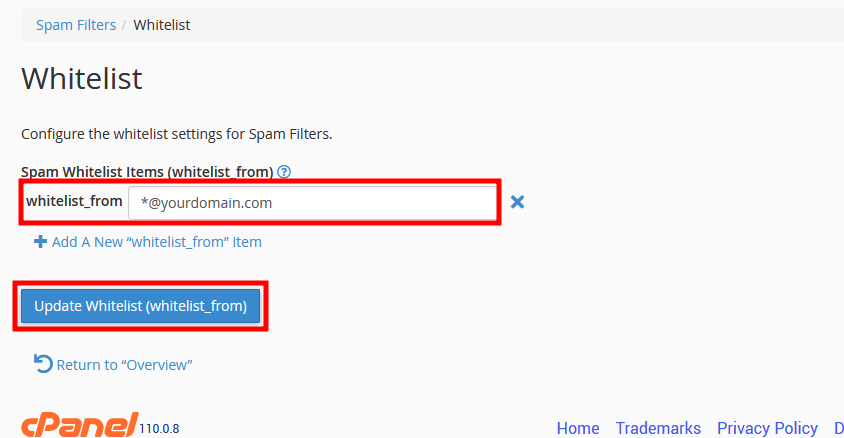
- Inside whitelist_from, You can add emails as mentioned below.
- [email protected] — to whitelist a sinagle email account.
- *@yourdomain.com — To whitelist all the email accounts of that domain.
- Click on Update Whitelist to save the settings.
- Click on Edit Spam Blacklist Setting.
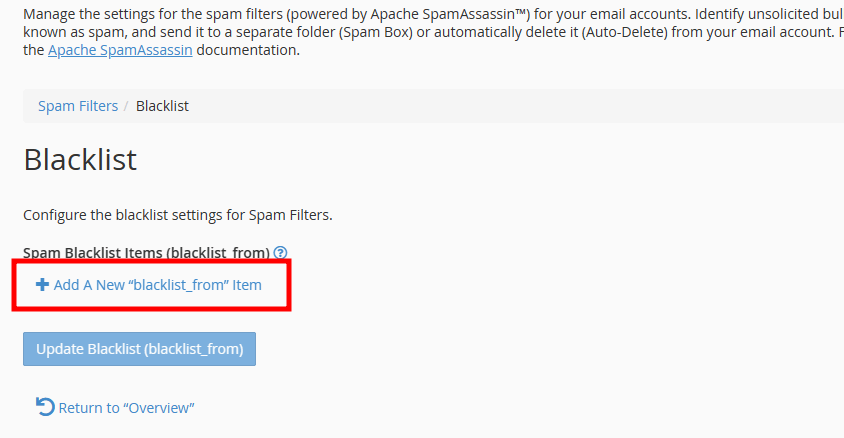
- In the new page, click Add a New blacklist_from item.
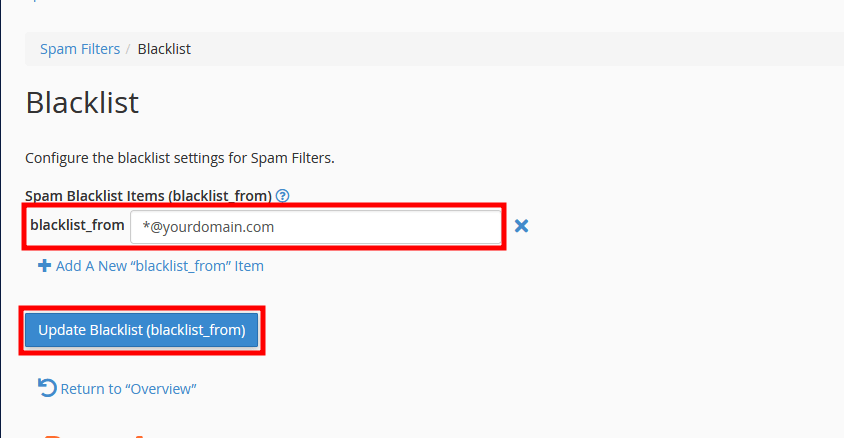
- Inside blacklist_from, You can add emails as mentioned below.
- [email protected] — to blacklist a sinagle email account.
- *@yourdomain.com — To blacklist all the email accounts of that domain.
- Click on Update Blacklist to save the settings.
To whitelist single or multiple email account
To blacklist single or multiple email account
Note: Once added in blacklist, you will not receive any emails from that particular domain.

How To Migrate cPanel Accounts From One Server To Another?

How To Delete An Email Account From CPanel?

How to Block Bots using Robots.txt File in cPanel?
About Author
KemuHost Team
We are a team of Web Hosting Experts with decades of experience in Server Management and Web Hosting fields. We do perform thorough research on the web hosting trends and provide the best information to our users.