How To Install Node.JS in WHM Server?
To install Node.js in WHM is a relatively simple process. Node.js is a runtime environment for JavaScript that is open-source, cross-platform, and widely used by developers to create highly scalable and efficient applications. As a cPanel server administrator, you may need to install Node.js runtime on your WHM server to enable users to run Node.js applications on their websites.
Follow the below steps to install Node.js in WHM.
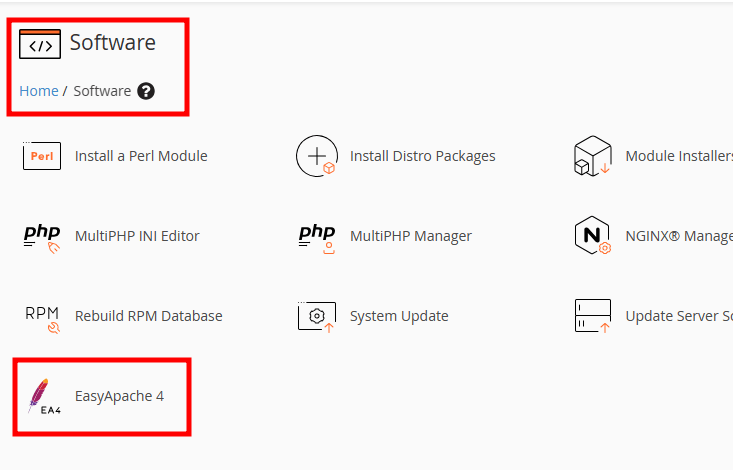
- Log in to the WHM with the root user.
- Under Software, Select EasyApache 4 section.
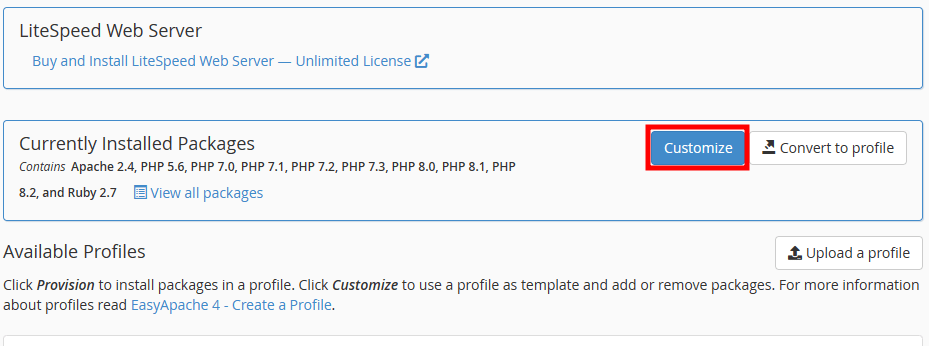
- Click on Customize next to the Currently Installed Packages option.
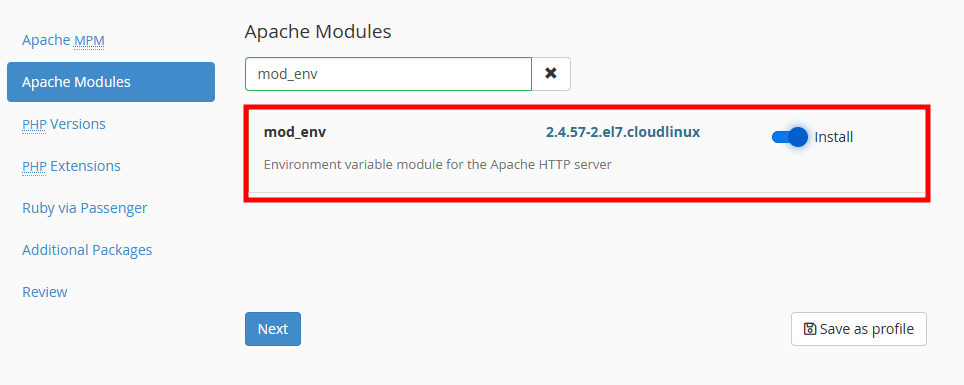
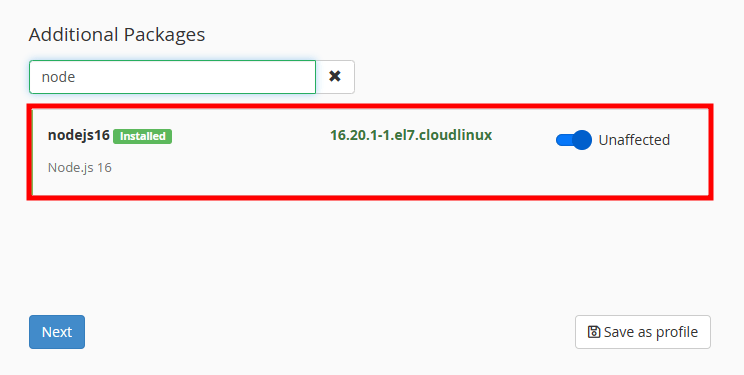
- Install apache24-mod_env, ruby27-mod_passenger, and nodejs16 by reviewing the images below.
- Apache Modules: Mod_env
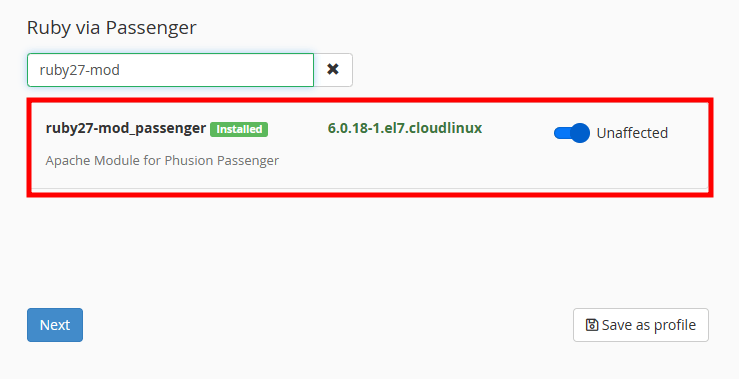
- Rubby Via Passenger: rubby27-mod_passenger
- Additional Packages: nodejs16
- Apache Modules: Mod_env
- Click on the Review button to check the changes.
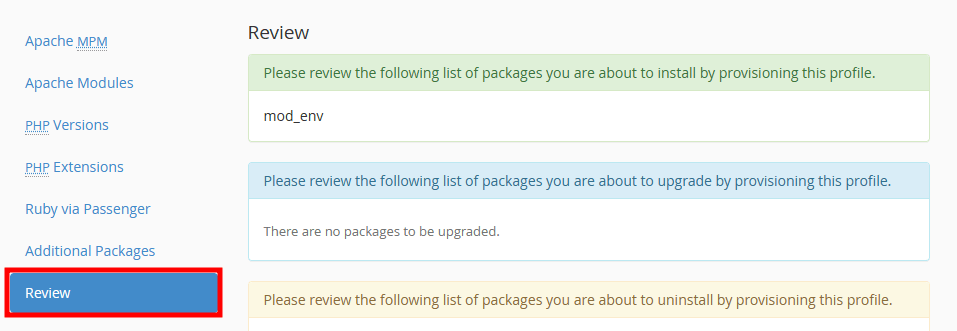
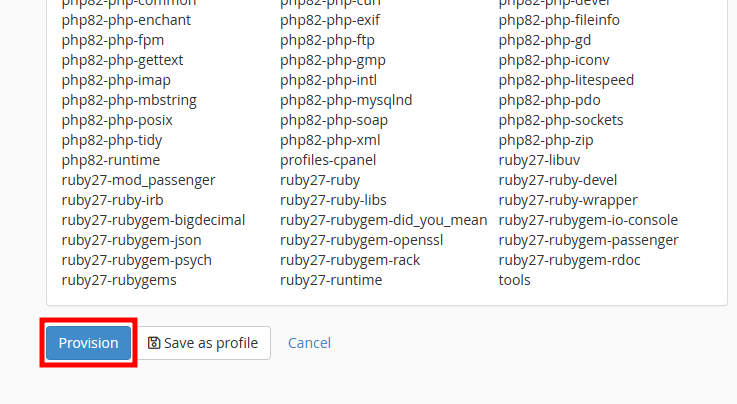
- Once you’ve reviewed the changes, click on Provision and wait for the installation process to complete. A confirming the completion of the provisioning process message will appear.
Conclusion: Node.js runtime environment is one of the most powerful and popular environments that allows developers to create scalable and efficient applications using JavaScript. Once you have successfully installed Node.js on your cPanel server, you can start using it to run Node.js applications.
To verify the Node.js installation on your server, you can run node -v command in the terminal or command line interface. This command will return the version number of the Node.js runtime installed on your server.

How To Delete An Email Account From CPanel?

How To Install Imagick On WHM?

How to set limited privileges to a reseller account in WHM?
About Author
KemuHost Team
We are a team of Web Hosting Experts with decades of experience in Server Management and Web Hosting fields. We do perform thorough research on the web hosting trends and provide the best information to our users.