How To Whitelist Or Blacklist IP Using cPHulk in WHM?
The cPHulk is an additional security service in WHM that protects against brute-force attacks against your web services. These include WHM, cPanel, SSH, FTP, and Mail Service. In this article, we will discuss how to whitelist or blacklist IP using cPHulk in WHM.
Steps to whitelist or blacklist IP using cPHulk in WHM:
- Log in to your WHM Server as the root user.
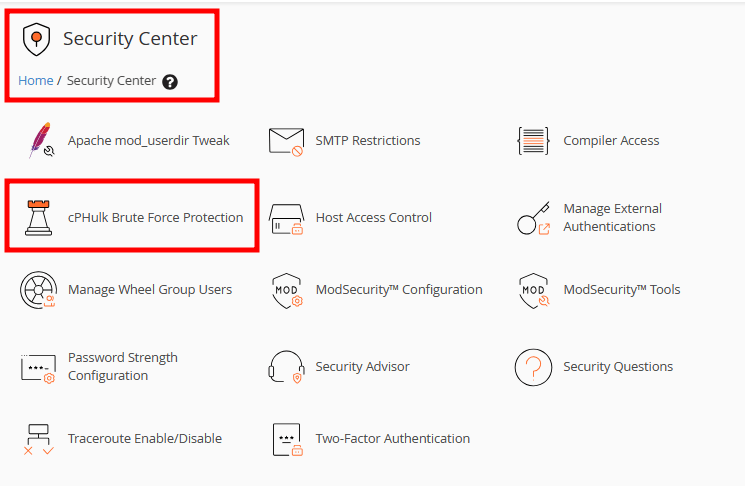
- Under the Security Center section, click on cPHulk Brute Force Protection.
- On the new page, click on Whitelist Management. Add the IP addresses to the whitelist on the New Whitelist Records box and click on the add button at the bottom of the page.
Note: IP addresses on the whitelist can always log in to your server.

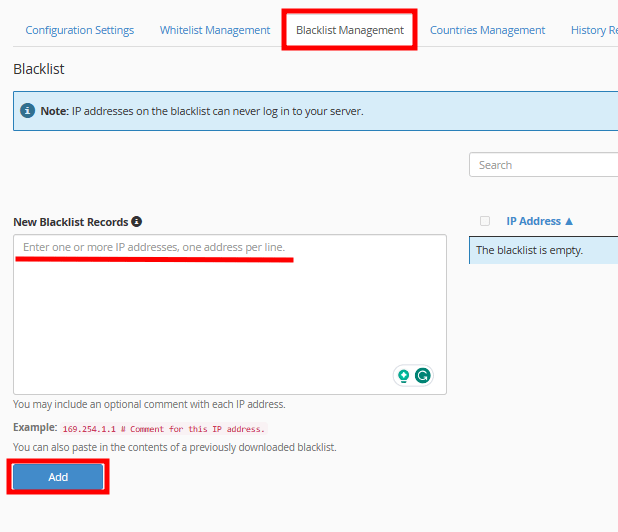
- On the Blacklist Management tab, enter the IP addresses you want to blacklist or block and click the add button.
Note: IP addresses on the blacklist can never log in to your server.
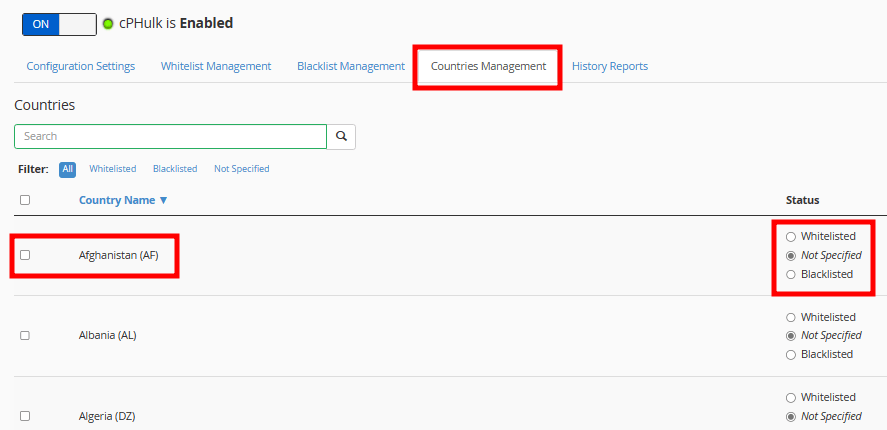
Countries Management:
If you want to allow or block traffic from certain countries, then you can manage it from the Countries Management tab. You just need to select the radio button against a country name to allow or block traffic from that country.
Important: We strongly recommend to add your own IP address or addresses to the whitelist to avoid a lockout of the root user account.

How To Create A Catch-All Email Address In cPanel?

How To Disable Anonymous FTP In WHM Server?

What Is The Restricted Restore Feature In WHM?
About Author
KemuHost Team
We are a team of Web Hosting Experts with decades of experience in Server Management and Web Hosting fields. We do perform thorough research on the web hosting trends and provide the best information to our users.